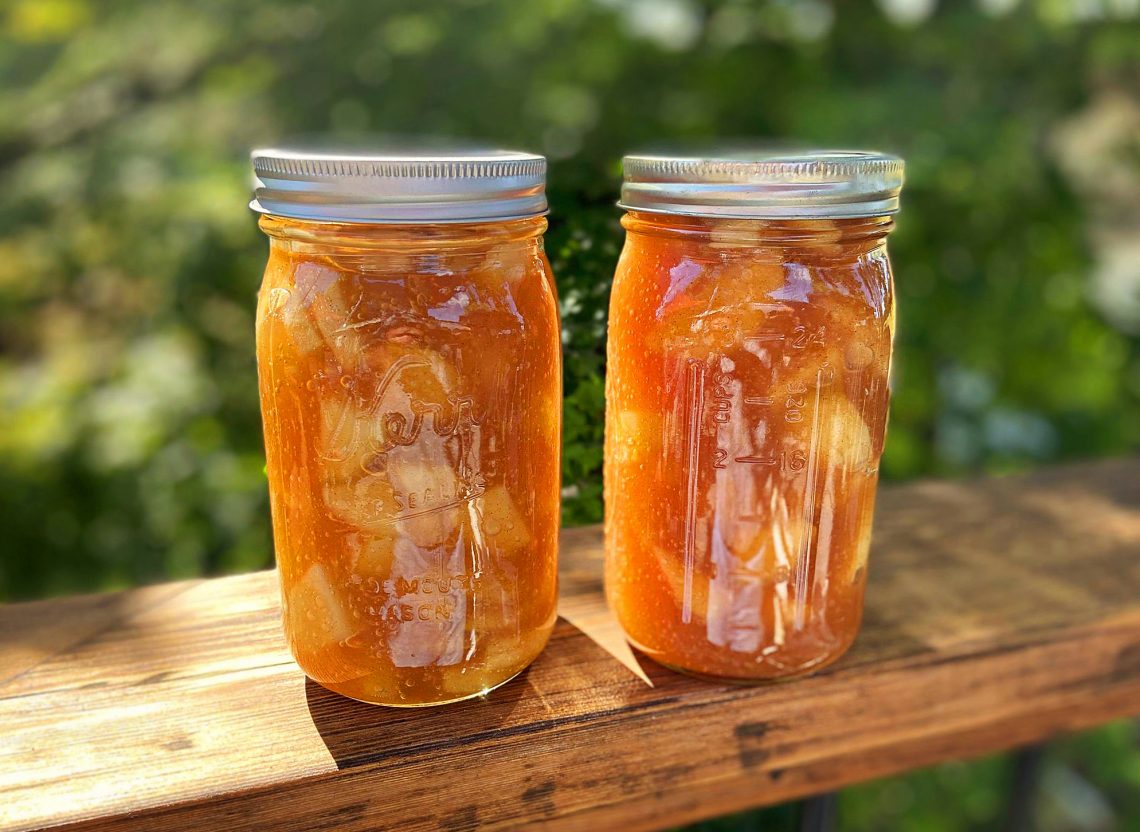
Delicious Canned Apple Pie Filling
This delicious canned apple pie filling is the perfect blend of crisp apple goodness with just the right amount of aromatic spices to make your house smell amazing. A jar of homemade apple pie filling is always a hit whenever we give it to friends. It’s easy enough to make even if you are new to canning. In fact, this was the first recipe I ever canned.
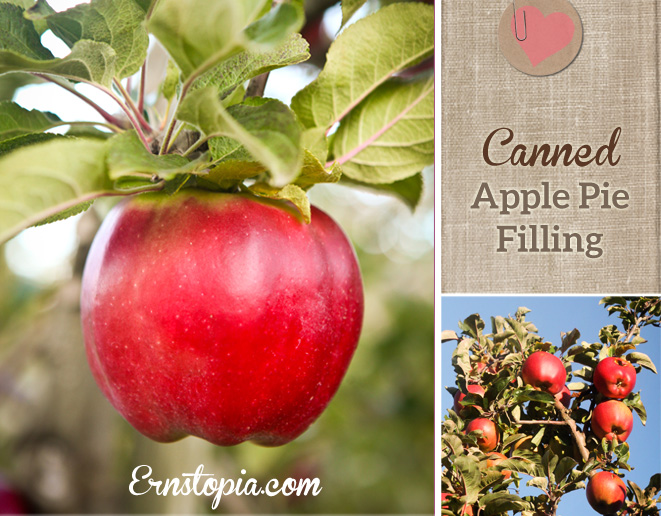
We live about an hours drive from Hood River, Oregon, known for it’s 35-mile scenic Fruit Loop. In the fall we love to make the trek for a fun day of apple tasting, hay rides, beautiful scenery and of course local apples and cider right from the orchard. Although we’ve visited many orchards in the area, our family favorite is the Kiyokawa Family Orchards in Parkdale.
I enjoy making apple sauce with our apples, but for gift giving, nothing beats this delicious homemade apple pie filling. It’s always a big hit at Christmas time!
Canning Supplies
I have included product links below to make it easier for you to find the canning supplies needed for this recipe. As an Amazon Associate, I may receive a small commission when you use my links and make a purchase. There is no cost to you. Here are the supplies you will need to can this apple pie filling:
Wide Mouth Quart Canning Jars | Apple Peeler/Corer/Spiralizer | Canning Tools | Water Bath Canner w/ Rack
Delicious Apple Pie Filling Recipe
This recipe was given to me by my friend Carrie who now lives in New Zealand. I hope you enjoy it as much as we have over the years.
- 8 quarts apples, peeled and sliced
- 4 1/2 cups sugar
- 2 teaspoons cinnamon
- 1/4 teaspoon nutmeg
- 1 teaspoon salt
- 2/3 cups cornstarch
- 8 cups water
- Peel and core 8 quarts of apples.
- Blend sugar, cinnamon, nutmeg, salt, cornstarch and water in a large sauce pan.
- Cook until thick and bubbly, stirring constantly.
- Add lemon juice and a couple drops of yellow food coloring (optional)
- Place apple slices in a jar up to the neck.
- Fill jars with hot mixture, leaving about an inch at the top.
- Process in a hot water bath for about 20 minutes (or at 5 pounds pressure for 10 minutes in a pressure cooker.)*
- This makes about 6 quarts.
- *I've only processed using a hot water bath, but my recipe has both instructions, so I am sharing for those brave souls who use a pressure cooker.
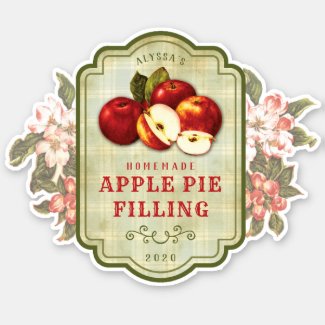
I created these vintage style labels to add to the front of the jars for gift giving. Just click on the link below to order yours. You can select which size you need and then personalize it with your name:
Related posts:
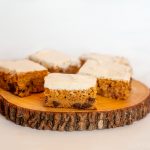 Keto Chocolate Chip Pumpkin Bars
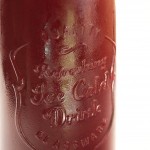 Pomegranate Cordial: A Delicious Drink Loaded with Health Benefits
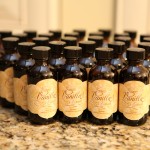 Homemade Vanilla Tutorial
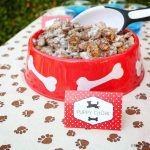 Puppy Chow Snack Recipe
 Chocolate Chip Pumpkin Cookies
 Enjoy a Delicious Burger at 1188 Brewing Company in John Day, Oregon
 Super Easy Fruit Leather
 My favorite Grain-Free Banana Bread