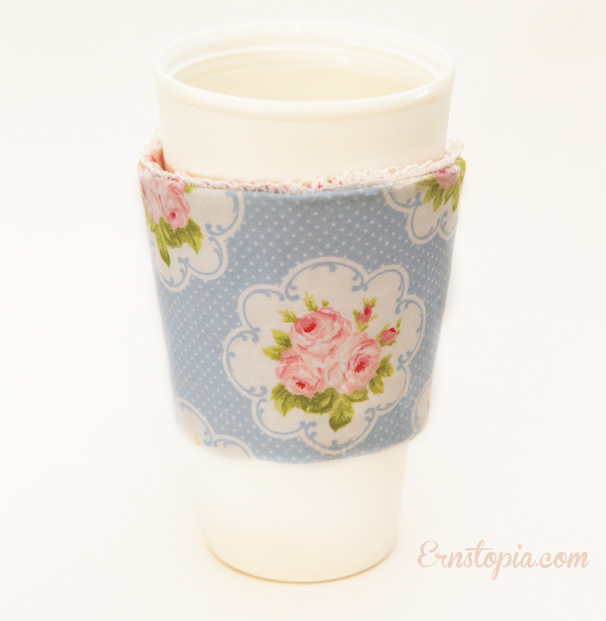
DIY Reusable Coffee Sleeve Tutorial
Last spring when I was in Hawaii, I frequented the Coffee Gallery on the North Shore of Oahu. Yummy good coffee can be found at the Coffee Gallery and I would highly recommend giving them a try if you are ever in the area. Anyhoo…as a souvenier I purchased a handmade reusable coffee sleeve made from the burlap bags the roasted coffee beans come in. Originally my idea was to try and replicate this sleeve using regular burlap, but when I tried it was an epic failure. The burlap bags the coffee came in were a much tighter weave and didn’t fray as easily, so now I am on the hunt for some of those bags!
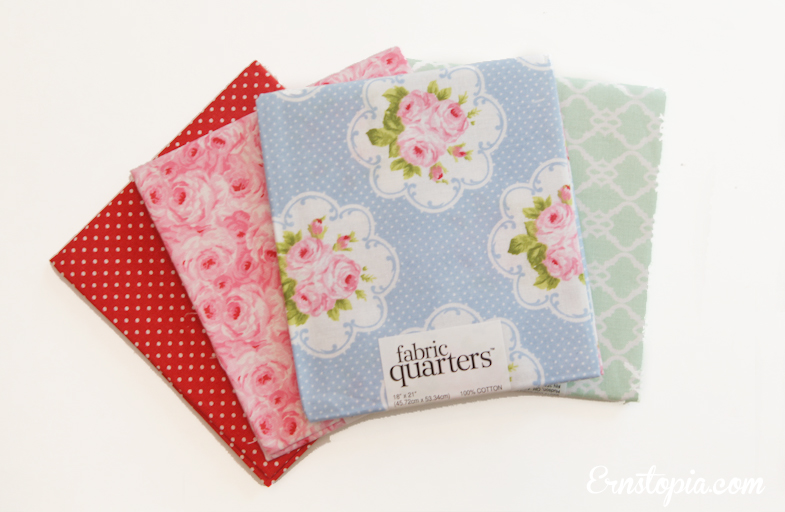
Until I find the right burlap material, I thought I would try to make some with regular fabric, so on a whim one day, I left for the fabric store. When I got there I realized why I never buy fabric…the dreaded cutting table. Usually when I need fabric it’s not for a project that I actually have instructions for. So when the lady at the counter asks me how much fabric I need I just freeze! I mean, that’s a lot of pressure. What if I don’t get enough? What if she asks me something that requires me to do math? The struggle is real. I am a lazy seamstress and will avoid hard things (like math) at all cost. All this blabbering to say what a relief it is to me that they have these fabric quarters available in all kinds of patterns. And the beauty…it’s pre-cut. No fabric cutting lady for me…not today! Fun fact: a fabric quarter (or fat quarter) is a piece of cotton measuring 18″ x 22″ inches and is often used by quilters and sometimes used by people like me who have a cutting counter phobia and only need a little bit of fabric. Whew. Okay, for this project you will also need felt. I used the felt squares I had on hand, but you can also purchase it by the yard. Again, that requires a visit to the cutting counter. Also swing by and purchase fuseable webbing (or heat n bond), 2″ Velcro, lace and matching thread if needed.
Warning: The following instructions were written after a long battle with an old sewing machine. I will update with additional photos very soon…good luck!
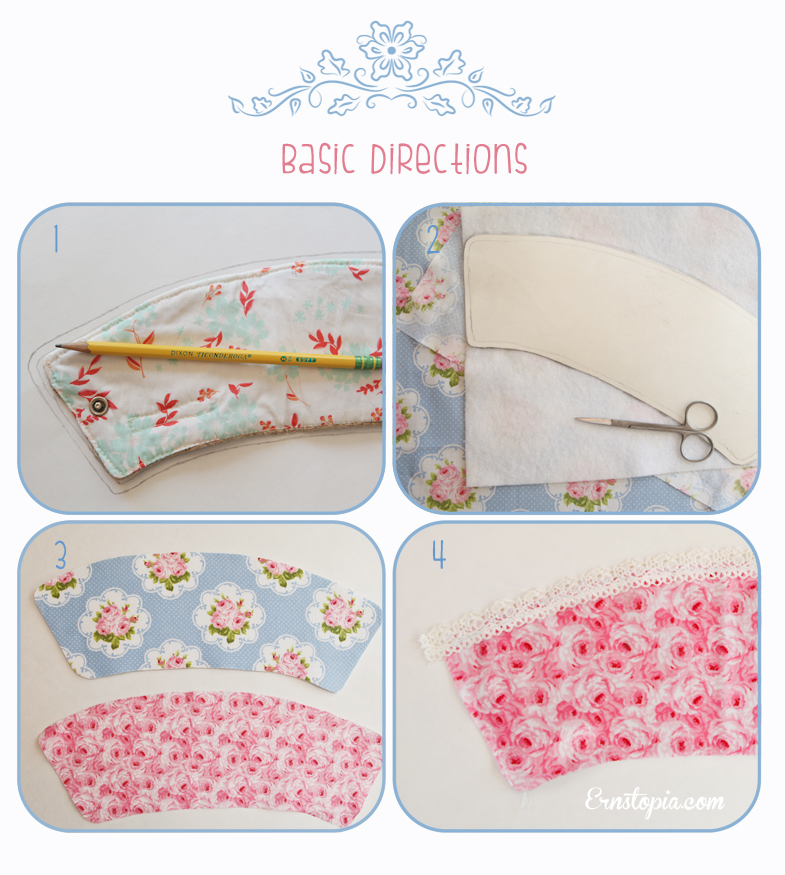
- I used the coffee sleeve I purchased in Hawaii as a template, then roughly sketched out a 1/4″ seam allowance. I really just made that part up. I’m not a professional, but I’ve heard people say to include a seam allowance, and well, it just makes sense so I added one.
- Using the shiny side against the wrong side of the fabric, iron the fuseable webbing to the fabric. Remove the backing off the fuseable webbing and iron it to the piece of felt. (Hint: if you are like me and are avoiding the cutting counter and you purchased felt squares, be sure to arrange your pattern onto the felt first to make sure it leaves enough room to cut sleeve shape before ironing the materials together. You may have to arrange the sleeve diagonally on the felt)
- Now cut out the coordinating fabric for the inside liner and make place right sides together.
- If you are feeling fancy and want to add some lace to your coffee sleeve, you need to do so before you sew the pieces together. Flip the lace so the top of the lace is actually facing the bottom of the pattern. This is always confusing to me and I usually have to do a quick mock-up to make sure I’m not sewing things the wrong way. Now sew the lace onto one of the right sides.
- Once you’ve sewn the lace along the top, put right sides back together and sew along the same stitching lines. Make sure to leave a section open so you can turn the fabric inside out or would it be right side out? What you want is the finished side out. This is all pretty confusing, so you would think I’d have a picture for this one, but I was pretty frustrated with my sewing machine by this point and I stopped taking pictures.
- Before you do any flipping out, be sure to clip the corners with scissors and remove as much bulk from the edge as you can. If you forget this step, you will probably flip out for real because you will now have to flip it back out side in again to clip the layers which is kinda tedious. You’ll be glad you did this step because this will make it lay flatter and nicer when you iron it.
- Iron it
- Stitch the hole shut. The fabric hole. The open section that you used to flip the fabric inside out/right side out…you got this. Continue to stitch around the outside about 1/4″ from the edge.
- Using a mug, decide where the velcro will go. Hold the velcro in place with double sticky tape and sew the velcro to the sleeve.
- Go make some coffee and try out your new coffee sleeve!
Related posts: