How to Make LEGO Minifig Crayons
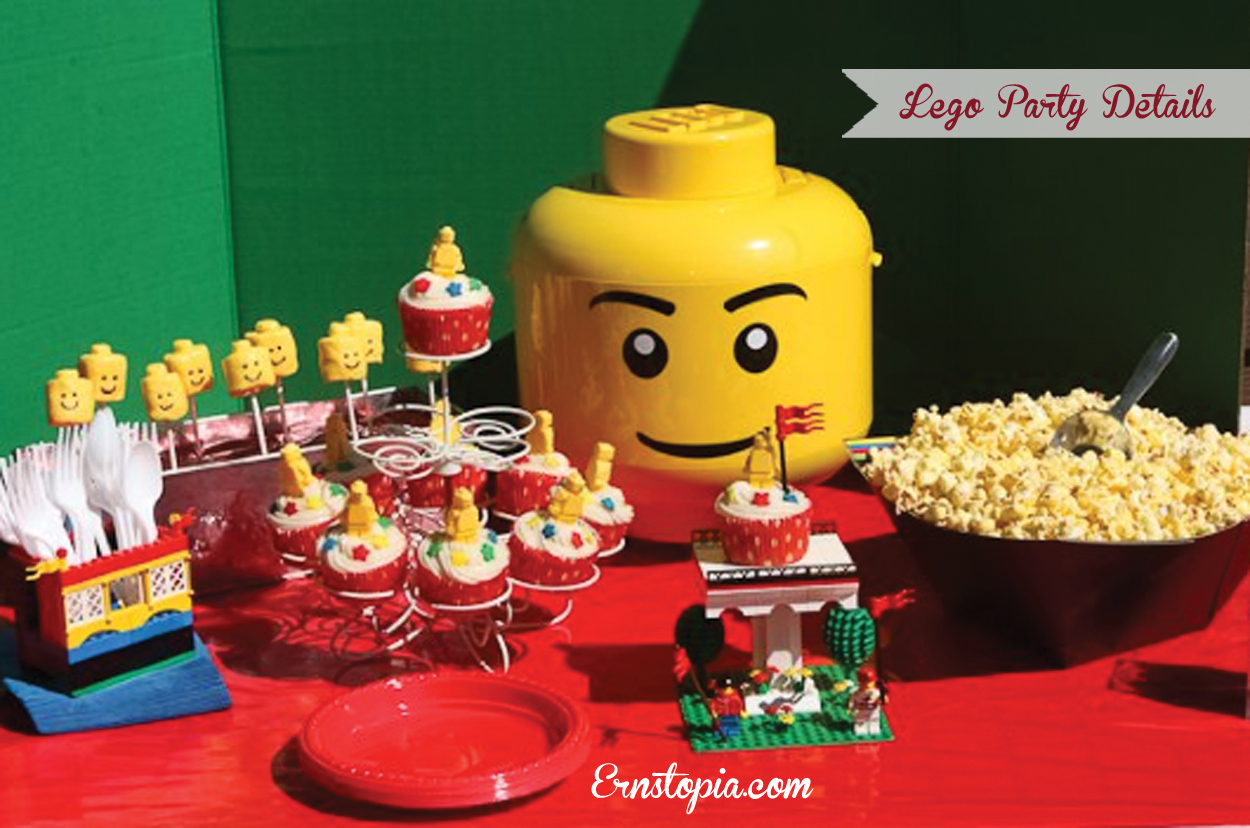
When both boys said they wanted a LEGO birthday, I was excited to get started planning everything. There really wasn’t any pre-made LEGO party supplies, so I knew I would be making most of my own party gear. I began searching on-line for ideas for the LEGO party when I saw this cute LEGO minifig shaped ice cube tray made of silicone. It was perfect, but to be honest, I didn’t think the payoff for all the time spent making shaped ice cubes would be all that great! Then I remembered as a kid we used to make crazy crayons by mixing different colors of crayon and melting them into muffin tins. They were fun to use because the colors would change as you colored with them. Perfect!!
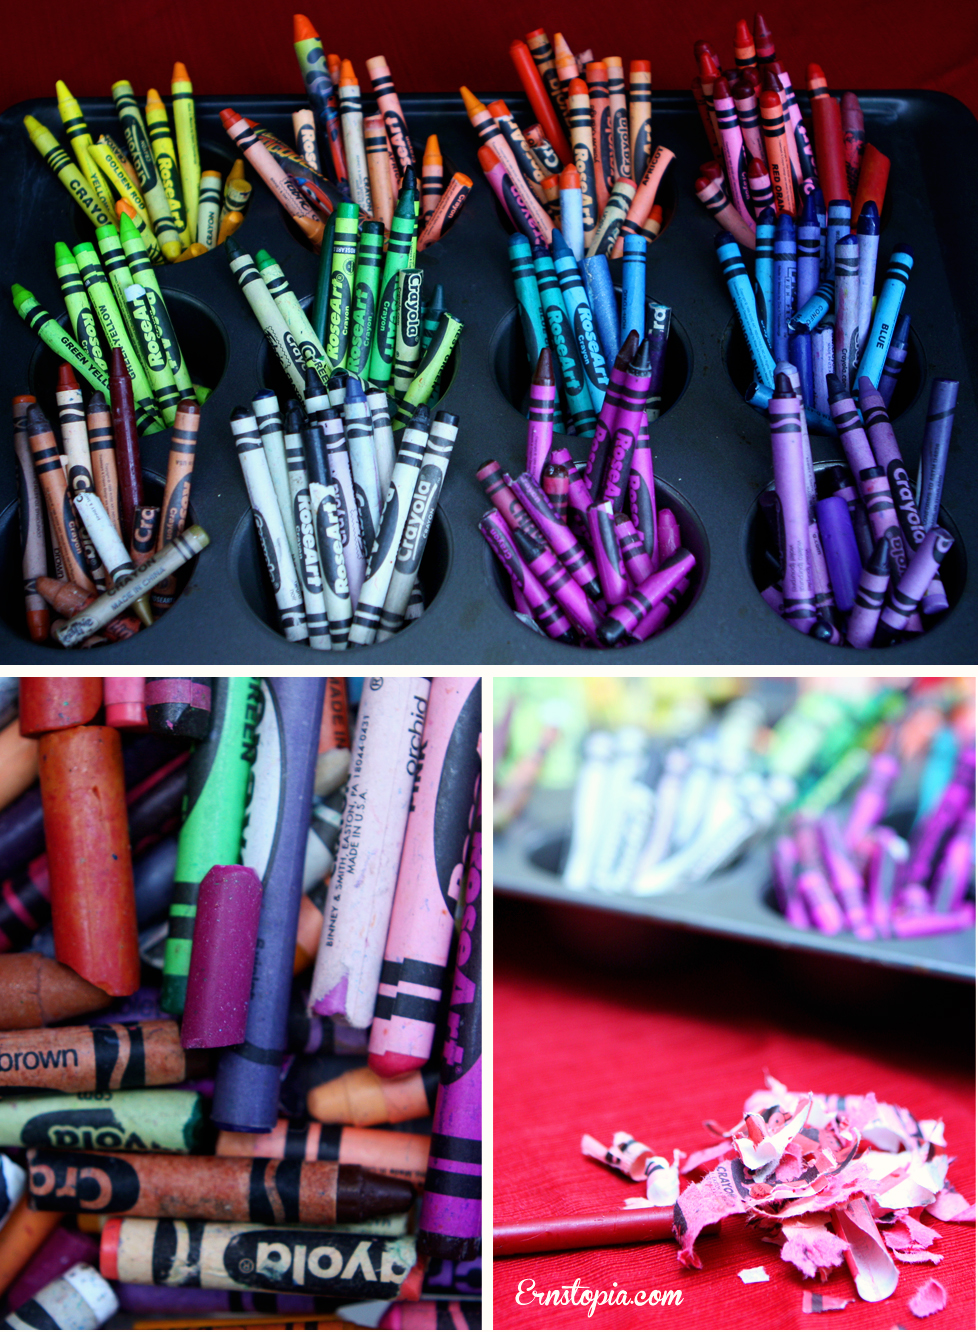
I’m sure if your house is anything like mine you have bucketloads of half used up crayons in drawers and well, in buckets. Of course each new school year you have to buy brand new crayons and so the half-used up crayon collection gets bigger every year. Needless to say we are fully supplied with crayons, so all I needed to buy for this project was the LEGO ice mold. Once it arrived we were in business. I put my boys to work sorting and peeling crayon labels. At first they were excited because I am usually telling them not to peel the labels off (I have this weird thing from my childhood about using paperless crayons), but their enthusiasm faded quickly when the novelty of crayon peeling wore off. I found it was easier to peel off the paper if I took a knife and sliced down one side first, they just peeled right off!
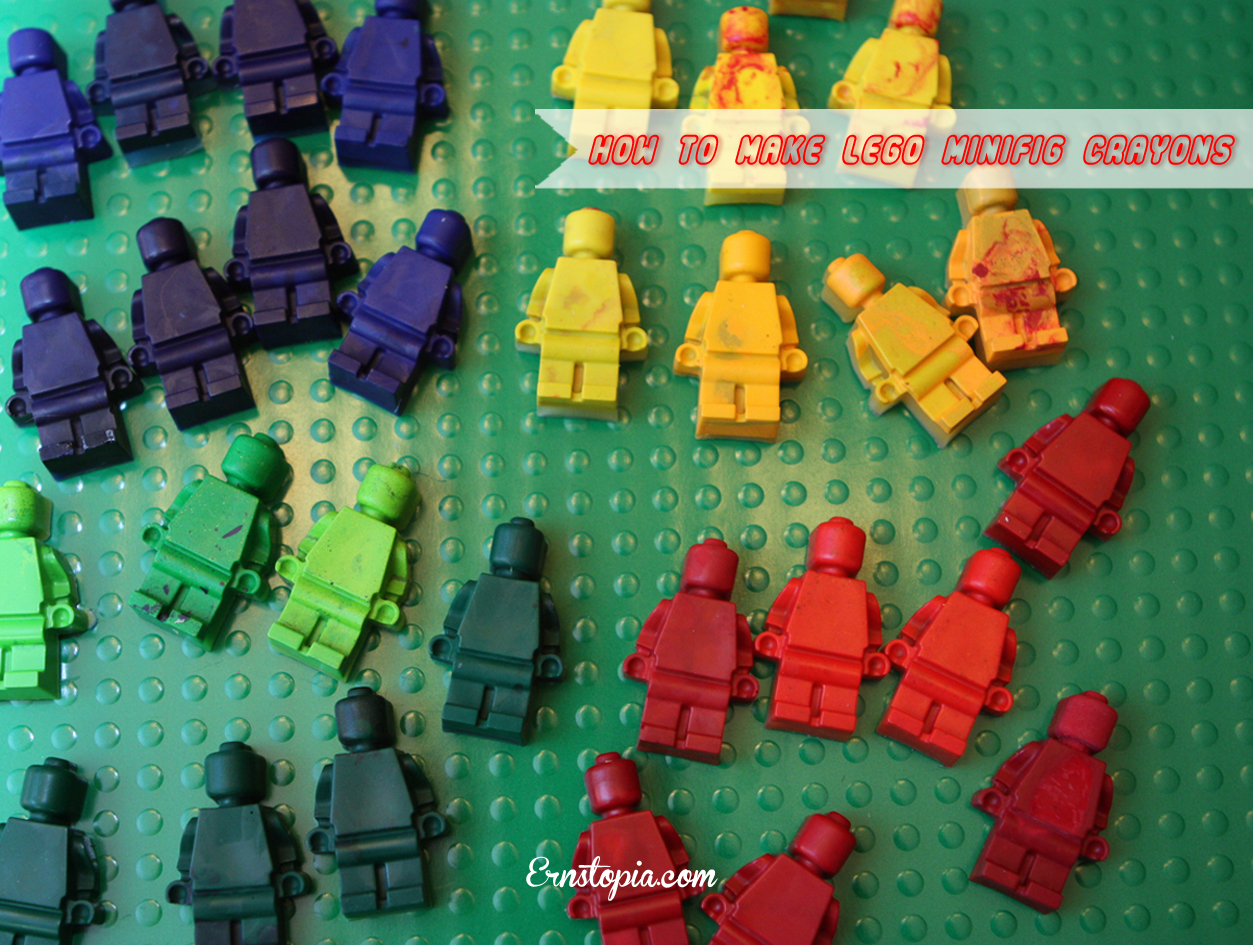
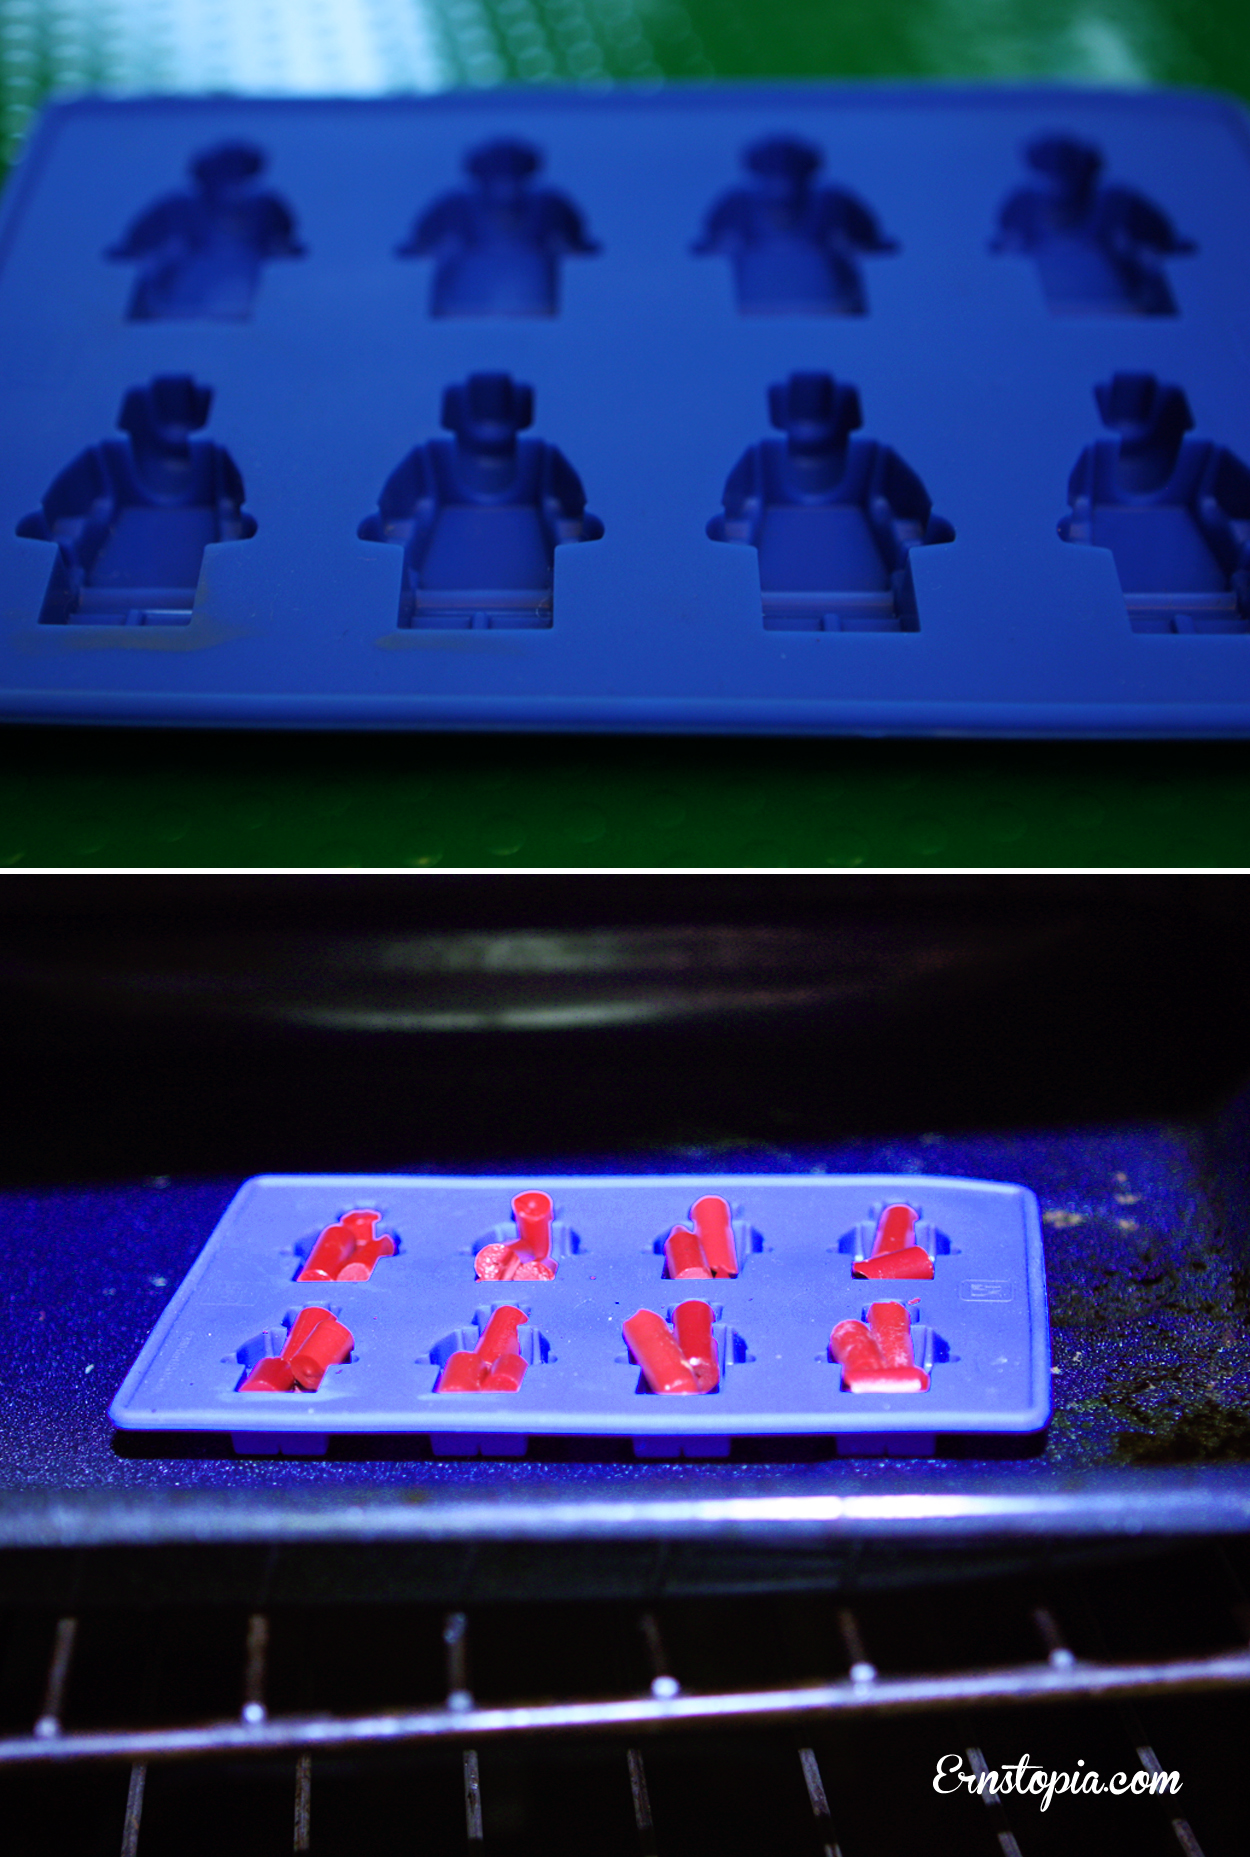 After peeling the crayons, the next step is to break them into smaller pieces that will fill up the cavities of the minifig mold. Once the cavities are full, put them on a tray and into the oven at 250 degrees for 8-10 minutes, checking frequently until you know about how long it takes. After my first test batch was melted, I realized that I needed to add more crayon pieces to make them completely full, so don’t be surprised if you need to add more too. Once they are all melted, put the tray into the refrigerator to cool completely before popping them out. Be particularly careful of the neck area (do minifigs have necks?). We had to re-melt a few of our lego guys after their heads popped off when we were un-molding them, so just be careful. Once they have been popped out continue the process until you have a whole army of colorful minifigs!
Related posts:
 Lego Party Round-Up
 How to Make a Custom Cookie Cutter
 How to Throw a Great Dog Birthday Party with Items From the Dollar Tree
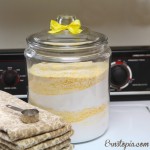 Homemade Laundry Detergent: A one Year’s Supply
 Finals Week Survival Kit
 DIY Reusable Coffee Sleeve Tutorial
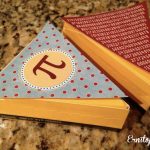 Throw a Pi Party to Celebrate the Math Lover in your Life
Pi Banner Download
Throw a Pi Party to Celebrate the Math Lover in your Life
Pi Banner Download